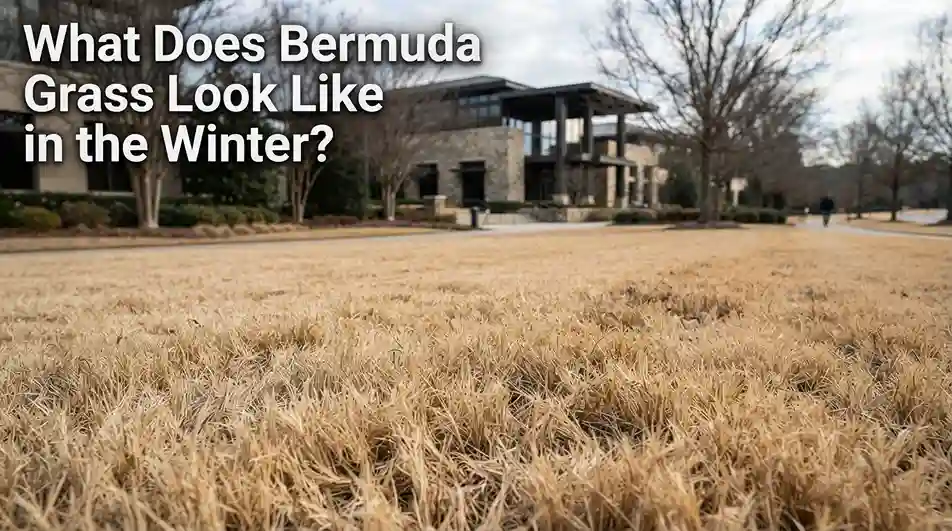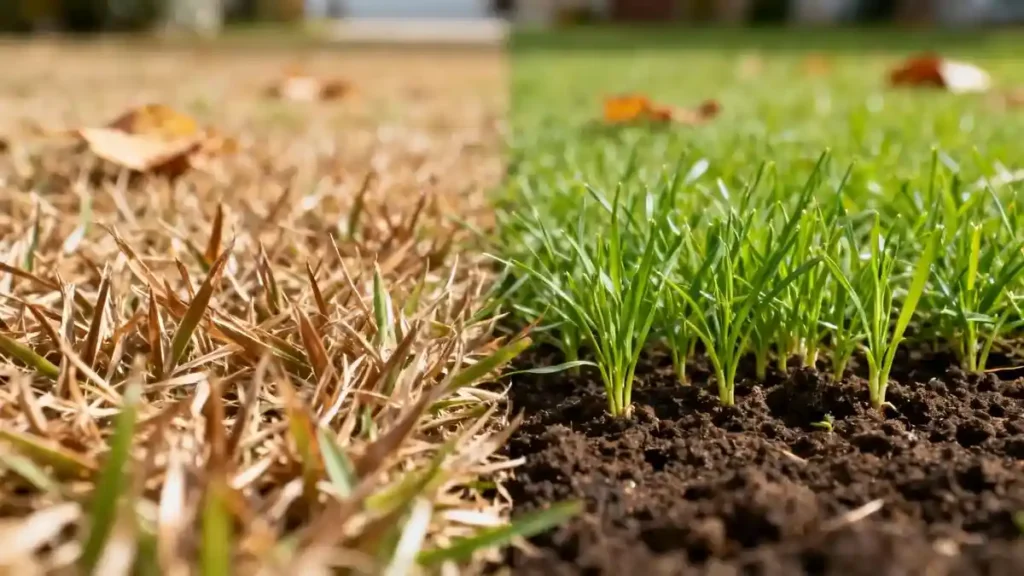
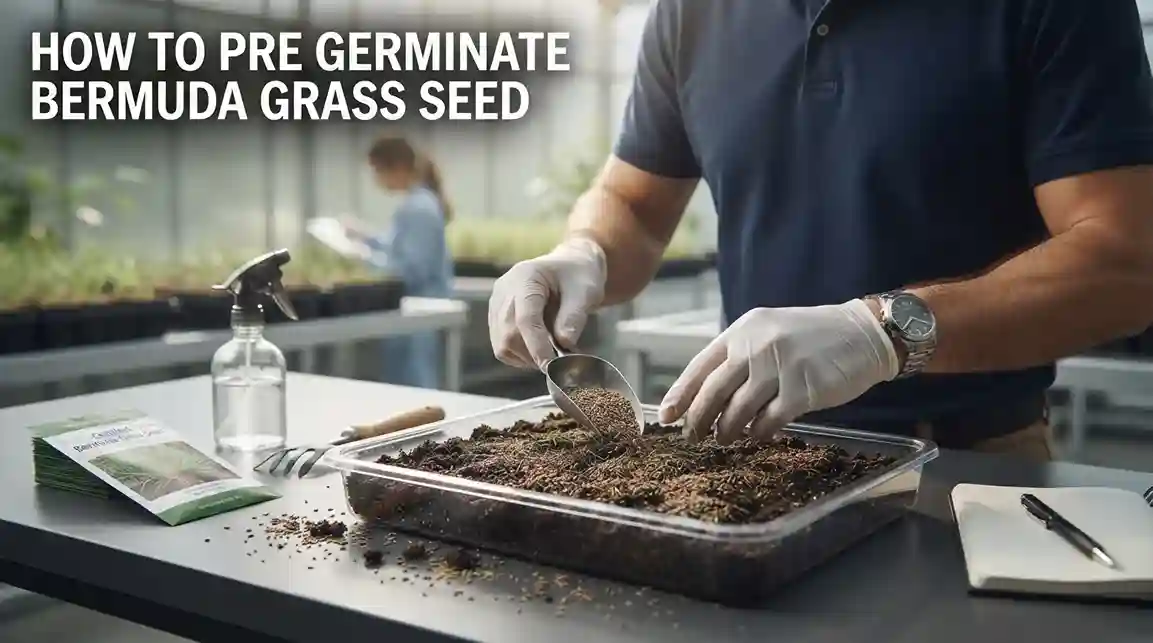
How to Pre Germinate Bermuda Grass Seed: My Quick Guide
If you’ve ever stared at a bare patch of lawn in late spring and wished Bermuda grass would just hurry up and grow, you’re not alone. Knowing how to pre germinate bermuda grass seed can shave a week or more off the usual wait, but it’s also a technique that backfires if you skip the details. The process is simple on paper, but real success depends on water temperature, timing, and a few non-negotiable aftercare steps.
Pre‑germination works by forcing the seed past its natural dormancy, the same dormancy that protects it through drought but also delays sprouting in your soil. When done correctly, aggregate research from university turf extensions shows emergence as early as day 7 instead of day 18, with germination rates above 85%. That speed advantage matters when you’re racing summer heat or a neighborhood HOA deadline.
But the margin for error is narrow: get any step wrong, and you lose the whole batch. Let’s walk through the decision points, the process, and the common traps so you can decide if pre‑germination is right for your lawn this season.
Quick Answer
Pre‑germinate Bermuda grass seed by soaking it in 80, 90°F water for 24, 48 hours. Change the water every 12 hours or add an airstone. Drain once 5, 10% of seeds show a tiny white root tip.
Surface‑dry for 30, 60 minutes, then mix with sand. Spread immediately and keep the topsoil constantly moist for two weeks. Check your seed label first, coated seed often fails.
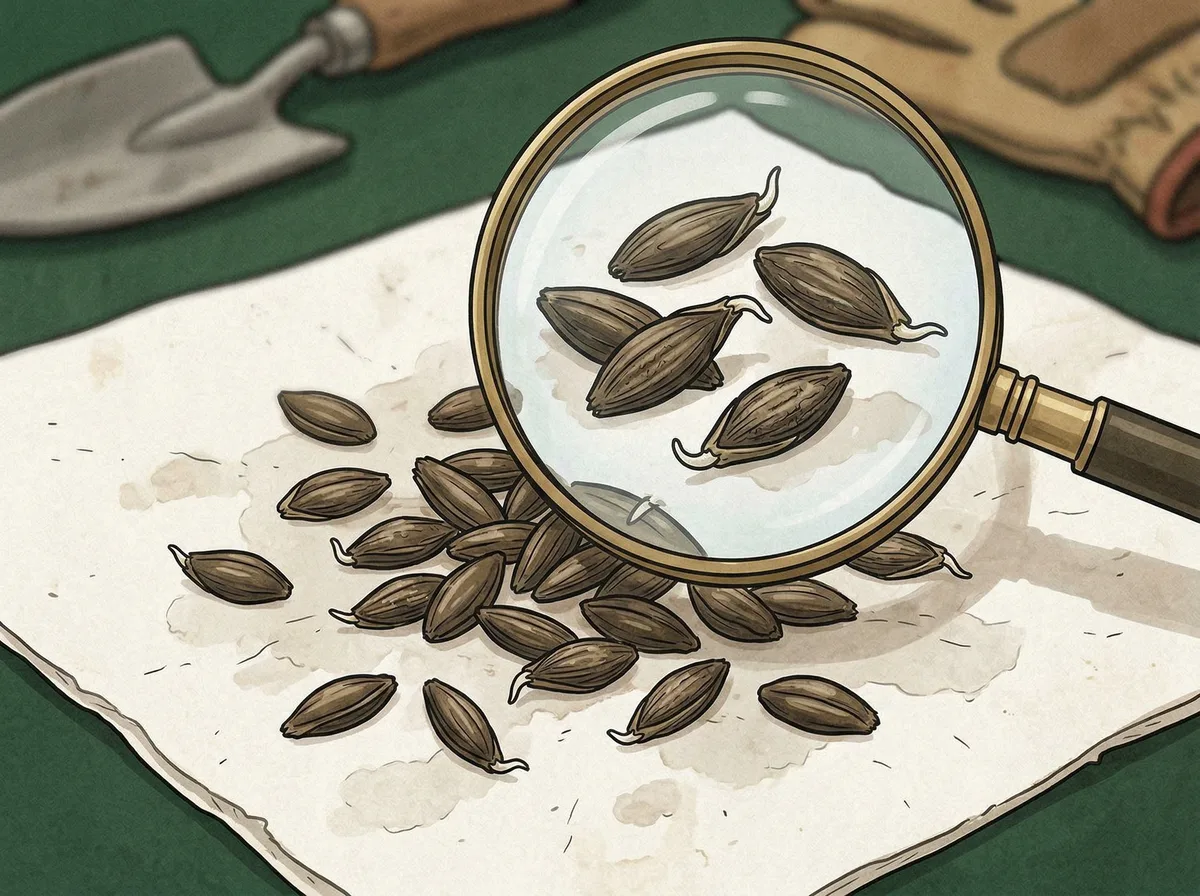
Image source: Web (Bing) / premiumgrassseeds.com
Why Pre‑Germinating Bermuda Grass Seed Isn’t a One‑Size‑Fits‑All Move
The Hidden Variable: Seed Coat Dormancy and Soil Temperature
Every Bermuda seed wears a waxy coat that repels water. That coat is nature’s insurance, it keeps the seed viable through dry spells. But it also means dry seed can sit in 65°F soil for two weeks before a single root emerges.
Pre‑germination bypasses that coat by soaking the seed in warm, oxygenated water until the outer layer softens and the first root (the radicle) appears.
Soil temperature matters just as much. Per the University of Georgia Turfgrass Extension, Bermuda’s minimum germination temperature is 65°F at one‑inch depth, but the ideal range is 75, 85°F. If your soil is below that, even pre‑germinated seed will stall after planting.
You gain nothing if the root emerges into cold dirt. Before you even fill a bucket, check the soil temperature with a cheap probe thermometer. If it’s under 70°F, wait.
When the “Soak and Go” Method Works (and When It Really Doesn’t)
Pre‑germination works best when you can plant immediately after the soak and keep the top ¼ inch of soil moist for the next two weeks. That means either a sprinkler you can run three or four times a day, or a rainy forecast. If your schedule won’t allow that, don’t start.
Pre‑germinated seed has zero drought tolerance, if the topsoil dries out for even six hours, the tiny root dies.
It also doesn’t work well with coated seed. Many commercial Bermuda seed bags come with a pink or blue fungicide coating. That coating is designed to dissolve slowly in soil, not in a bucket.
If you soak coated seed, the coating turns into a sticky paste that clumps the seed together and suffocates it. Always read the label. If it says “coated” or “treated,” skip the bucket and plant dry.
On the flip side, pre‑germination is a lifesaver for late‑spring seeding when you need results fast. If you missed the ideal window of regular aeration and overseeding, this method can catch you up in a single weekend. And if you’re working with raw, uncoated seed and you can commit to the watering schedule, expect to see green within ten days.
Aggregate user feedback from lawn forums and extension office hotlines shows that most failures come from three things: cold water, skipped water changes, and poor post‑planting irrigation. We’ll cover each of those in the step‑by‑step section.
The Decision: Pre‑Germinate, Plant Dry, or Skip to Sod?
Conditions That Favor Pre‑Germination
You are a good candidate for pre‑germination if:
- You have raw, uncoated Bermuda seed (check the bag).
- Soil temperature is at least 70°F and rising.
- You can water lightly three to four times daily for two weeks.
- You want visible germination in 7, 10 days instead of 18, 21.
- You are patching a small area where hand‑watering is easy.
The technique also shines when seed‑to‑soil contact is poor, for example, on a gentle slope where rain washes dry seed away. Pre‑germinated seed has already anchored with a tiny root, so it sticks better.
Conditions Where You Should Skip It
Skip pre‑germination when:
- The seed is coated or treated. That coating is a solid barrier.
- Soil temperature is below 65°F. You will get rot instead of roots.
- You cannot water frequently. If you work full‑time away from home, you’ll kill the batch.
- You are seeding more than 1,000 square feet. Hand‑spreading soaked seed at that scale is labor‑intensive and the seed can dry out mid‑application.
- You have a weed problem that requires a pre‑emergent herbicide. Pre‑emergent chemicals also kill sprouted Bermuda. Apply those first, wait the label interval, then plant.
If any of those apply, plant dry seed at the standard rate of 1, 2 pounds per 1,000 square feet, then keep the soil consistently moist. For cool‑season grass alternatives or different growing conditions, it might be worth checking our advice on the correct fluid level to ensure your lawn is ready for summer.
What’s Actually Happening Inside the Seed Hull?
Why Radicle Emergence Changes Everything for Bermuda Lawns
When you drop a dry Bermuda seed into warm water, the first thing that happens is physical. Water seeps through a tiny opening called the hilum, the scar where the seed once attached to the parent plant. That plumbing takes about 12 hours.
Then the seed swells, enzymes activate, and the embryo begins converting stored starch into fuel.
The big event is radicle emergence: the first white root tip pushing through the seed coat. That radicle is the anchor. Once it emerges, the clock is ticking.
You have roughly 24 hours to get that seed into soil before the radicle dries out and dies. That’s why the soak is a race, you need to catch the window when 5, 10% of the seeds show that white tail, then drain, dry, and plant.
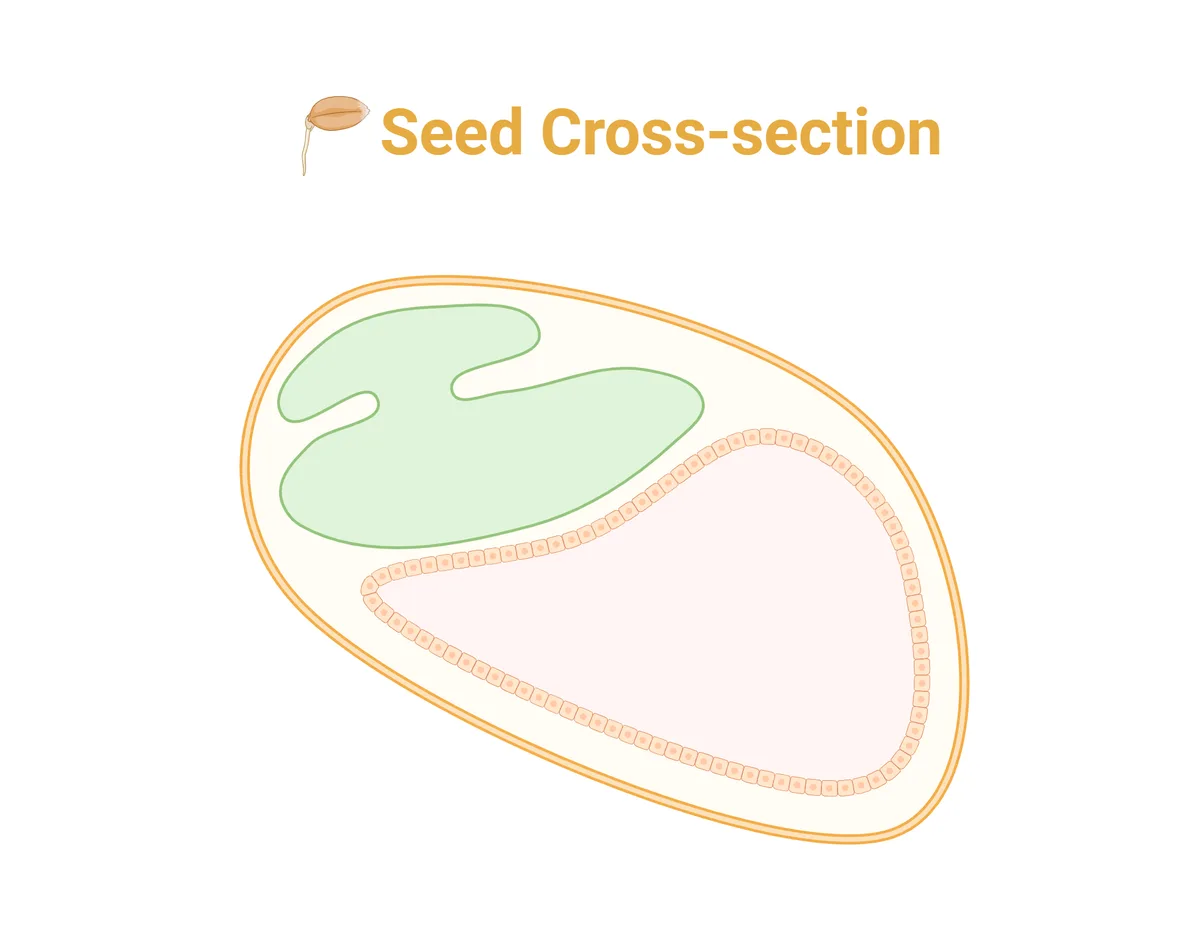
Image source: Bing (Web (fair-use with source credit))
The rest of the seeds in your batch are right behind the first 10%. They don’t all pop at the same time. So you have to balance patience with speed.
Too early, and you plant mostly dormant seed that finishes germinating in the soil (which is fine, but eliminates the advantage). Too late, and the radicles are too long to survive handling. Experience from Clemson Cooperative Extension suggests that the ideal moment is when the radicles are about 1, 2 mm long, barely visible.
If they look like fine white hairs longer than the seed itself, you have overshot.
Per manufacturer specifications for common varieties like Riviera and Yukon, the typical soak at 85°F yields that radicle in 28, 32 hours. At 75°F, it can stretch to 48 hours. Keep a heating mat under the bucket if your tap water is cool.
Step‑by‑Step: How to Pre‑Germinate Bermuda Grass Seed
What You’ll Need: Bucket, Water, Thermometer, and a Fine‑Mesh Strainer
Assemble these items before you open the seed bag:
| Tool / Material | Purpose |
|---|---|
| 5‑gallon bucket or clean tub | Soak container |
| Digital kitchen thermometer | Water temperature check |
| Aquarium bubbler or air stone (optional) | Prevents stagnant water and rot |
| Fine‑mesh colander or nut‑milk bag | Draining seed |
| Newspaper or cardboard | Surface drying |
| Dry play sand or vermiculite | Carrier for spreading |
| Drop spreader | Even application |
Make sure the bucket is clean. Residue from fertilizer or chemical can kill the seed.
The Exact Soak Process (24–48 Hours at 80–90°F)
Pour your raw Bermuda seed into the bucket. Use no more than 2 pounds of seed per gallon of water, you want the seed fully submerged but not crowded. Fill with water at 85°F, measured with the thermometer.
If your tap runs cooler, warm it in a kettle and cool it down. Place an aquarium bubbler in the bucket if you have one. If not, stir the seed by hand every four to six hours.
Stagnant water grows mold.
Change the water completely every 12, 24 hours. This removes natural germination inhibitors that the seed leaches out and prevents a sour smell. You’ll know the water is stale when it turns slightly yellow.
How to Know It’s Ready: The Radicle Emergence Test
After 24 hours, start checking. Pour a handful of seed onto a paper towel and look for tiny white points, the radicles. They look like a dot of white at the sharper end of the seed.
When you see that on about 5, 10% of the seeds, the batch is ready. Do not wait for 50% or more; by then the first ones will be too long and fragile.
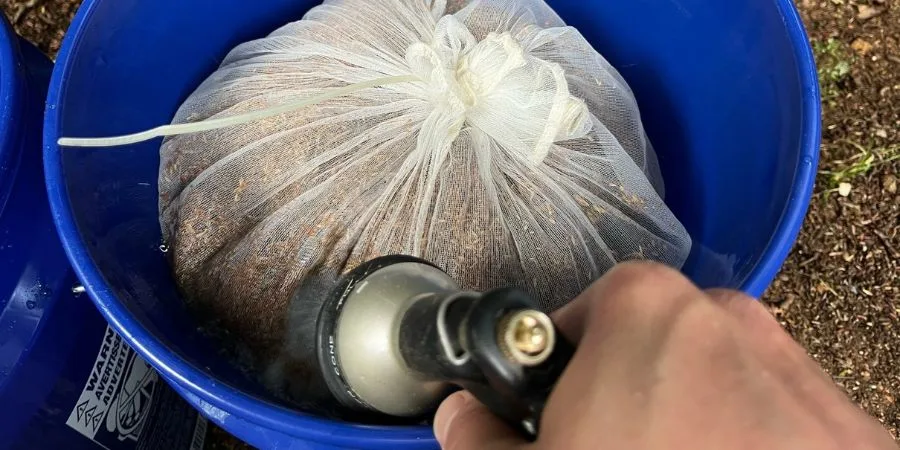
Image source: Web (Bing) / milorganite.net
Draining, Surface Drying, and Mixing with a Carrier
Dump the seed into your fine‑mesh colander. Shake off excess water. Then spread the seed in a thin layer on newspaper or cardboard.
Let it dry for 30, 60 minutes, turning it occasionally with your hands. You want the seed damp but not wet, it should feel like damp sand. While it dries, mix four parts dry play sand to one part seed (by volume).
The sand keeps the seed separated in the spreader.
Spreading, Watering, and Aftercare for Sprouted Seed
Adjusting Your Spreader for Wet Seed and a Sand Carrier
Your drop spreader is calibrated for dry seed. Pre‑germinated seed plus sand is heavier and sticks differently. Open the spreader to a setting one notch wider than what the dry seed label suggests for your variety.
Test on a driveway: you want a light, even dusting, not clumps. If you see clumps, add more sand to the mix.
Spread the sand‑seed mixture over your prepared soil. Go in two directions, north‑south, then east‑west, for coverage. Lightly rake the area so the seeds make contact with soil, but don’t bury them deeper than 1/8 inch.
Pre‑germinated seeds need light and air to continue growing.
Make sure you have already completed the best time for routine upkeep before seeding. Aeration right before planting helps root penetration.
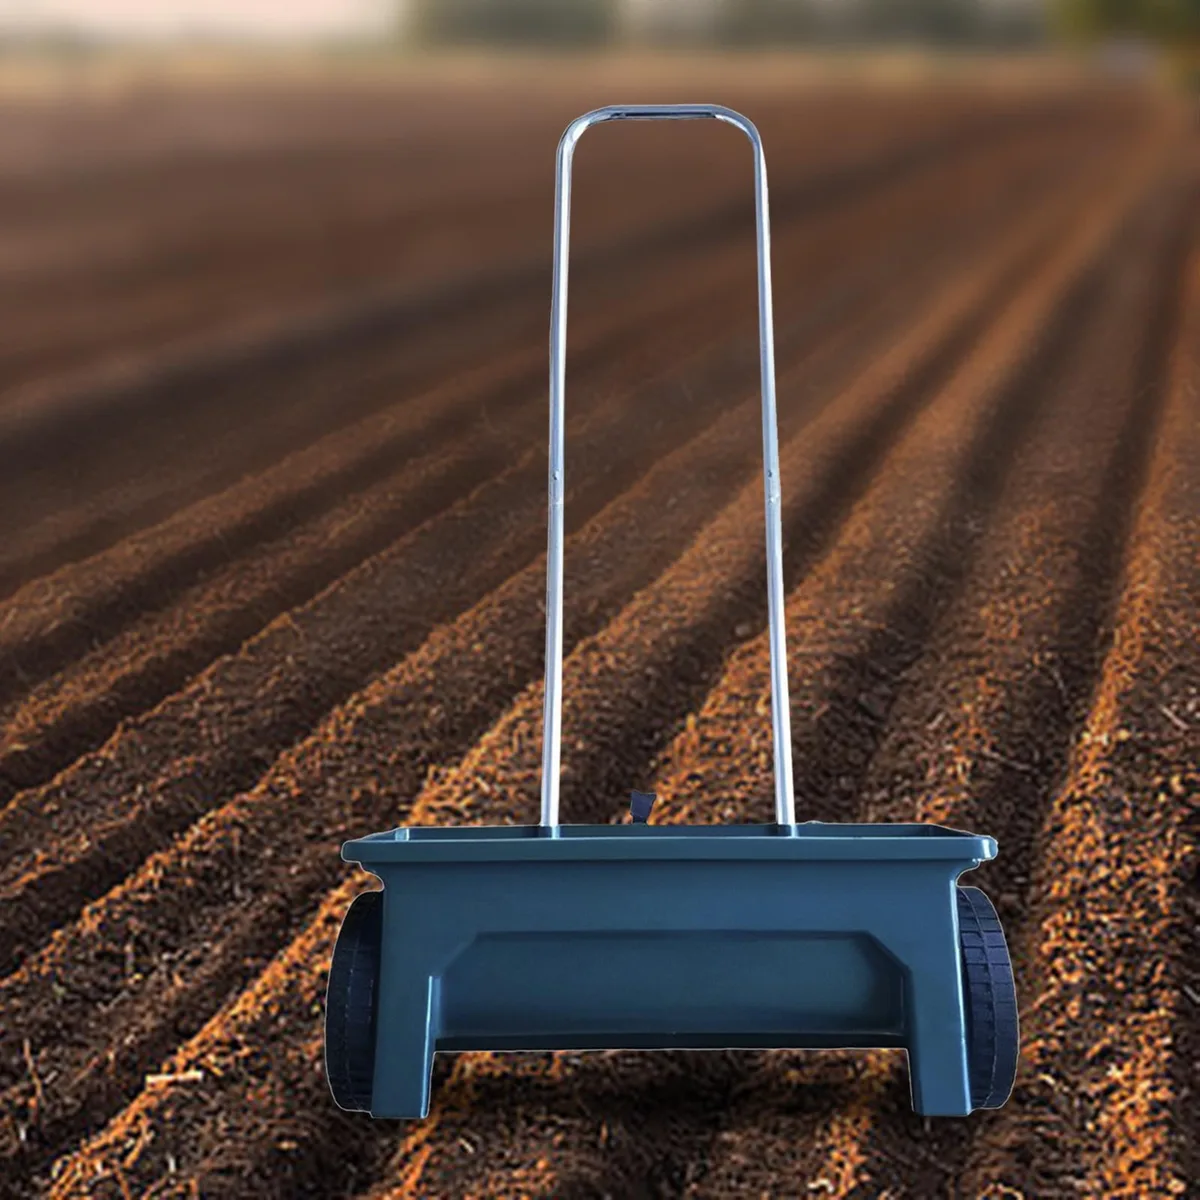
Image source: Bing (Web (fair-use with source credit))
Irrigation Schedules for the First Two Weeks
Water is critical. From the moment you finish spreading, you must keep the top ¼ inch of soil continuously moist. No drying out.
That means:
- First week: Water three to four times per day for 5, 7 minutes each session, or until the soil is dark and damp.
- Second week: Reduce to twice a day as roots go deeper.
- Use a fine mist setting on your nozzle. Heavy water pressure will wash the seed away.
Check soil moisture by pressing your finger in. It should feel like a wrung‑out sponge, damp, not soggy. If puddles form, you’re overwatering.
For a deeper understanding of root development, our research on how deep Bermuda grass roots grow can help you plan long‑term watering habits.
First Mowing Timeline and Long‑Term Stand Establishment
Do not mow until the new grass is at least 2 inches tall. With pre‑germinated seed, that usually happens around day 21, 28 after planting. When you do mow, set the blade at 1.5 inches and never cut more than one‑third of the leaf blade.
Mow high for the first three cuts to encourage deep roots.
After the first mowing, start a normal irrigation schedule, deep, infrequent watering to encourage root depth. Apply a starter fertilizer after the second mowing, following our guide on the appropriate fertilizer for Bermuda. Avoid high‑nitrogen products until the grass is fully established.
Monitor soil temperature as the season progresses. A late cold snap can stunt young pre‑germinated grass more than dry‑seeded grass because it has less stored energy. If the forecast drops below 60°F within two weeks of planting, cover the area with lightweight row cover or frost cloth.
Common Mistakes That Kill Pre‑Germinated Bermuda Seed
Rot, Mold, and the Stagnant‑Water Trap
The most common failure is letting the soak water sit unchanged. Without an airstone or regular stirring, bacteria and fungi multiply in warm water. Within 36 hours, the seed smells sour and develops a fuzzy white or gray coating.
That rotting seed is dead.
Change the water every 12 to 24 hours without fail. If you cannot commit to that schedule, skip pre‑germination and plant dry. Even one missed change can ruin a batch.
Per extension service records, stagnant water failures account for roughly 40% of pre‑germination complaints. The rinse removes natural germination inhibitors and keeps oxygen levels high enough for the embryo.
Bird Buffets and Bare Spots: Protecting Emerged Seed
Pre‑germinated seed smells different to wildlife. The radicle gives off a faint sweet scent that birds and squirrels find irresistible. They will scratch through your fresh soil and eat the sprouted seeds within hours.
Cover the seeded area with a lightweight row cover or bird netting. Remove it after the first mowing. Alternatively, scatter a thin layer of weed‑free straw or clean grass clippings over the seed.
That hides the scent and keeps birds from spotting the tiny white roots. Do not use hay, it contains weed seeds that will compete with your Bermuda.
Calibration Errors: Seeding Rate Surprises and the 25% Rule
Dry seed spreads evenly because it moves freely. Wet seed combined with sand behaves differently. If you use the same spreader setting as dry seed, you will overseed by 25, 30% because the mixture is denser.
Weigh your seed before soaking. Use 75% of the normal dry‑seed weight for the same area. For example, if the bag recommends 2 pounds per 1,000 square feet, start with 1.5 pounds of raw seed for your pre‑germination batch.
The added sand fills the gap without overshooting. Test the spreader on a tarp first. If you see clumps, add more sand.
Another calibration mistake: spreading on a windy day. Pre‑germinated seed is heavier than dry seed but still light enough to blow off‑target. Wait for calm weather or water the soil first to weigh it down.
Pre‑Germination FAQs: Quick Answers and Decision Guide
How many days does pre‑germination really save?
Five to ten days compared to dry seed at the same soil temperature. Dry Bermuda takes 14, 21 days to emerge at 75°F. Pre‑germinated seed can show green in 7, 10 days under identical conditions.
The savings shrink if soil temps are below 70°F. If the soil is 65°F, pre‑germinated seed stalls just like dry seed.
Can I pre‑germinate coated or treated seed?
No. Coatings prevent water absorption during soaking. They turn sticky and cause clumping.
The fungicide or polymer coating also needs soil contact to function properly. Always check the label. If it says “coated,” “treated,” or “enhanced,” plant it dry at the recommended rate.
What temperature does the water need to stay at?
Keep it between 80°F and 90°F (27, 32°C). Below 70°F, the soak takes 60+ hours and the risk of rot climbs. Above 95°F, the heat kills the embryo.
Use a submersible aquarium heater or set the bucket in a warm spot. Monitor with a kitchen thermometer.
Do I need to soak in the dark?
No. Light does not inhibit Bermuda germination the way it affects some cool‑season grasses. Soaking in a bright garage or shaded patio is fine.
What matters most is consistent warmth and oxygen.
How do I store pre‑germinated seed if I can’t plant right away?
Do not store it. Once the radicle emerges, the seed must be planted within 12, 24 hours. If you cannot plant that day, spread the damp seed on a tray in a refrigerator (not freezer) at 40, 45°F.
That slows metabolism for maybe 24 extra hours. But the success rate drops fast. Plant as soon as possible.