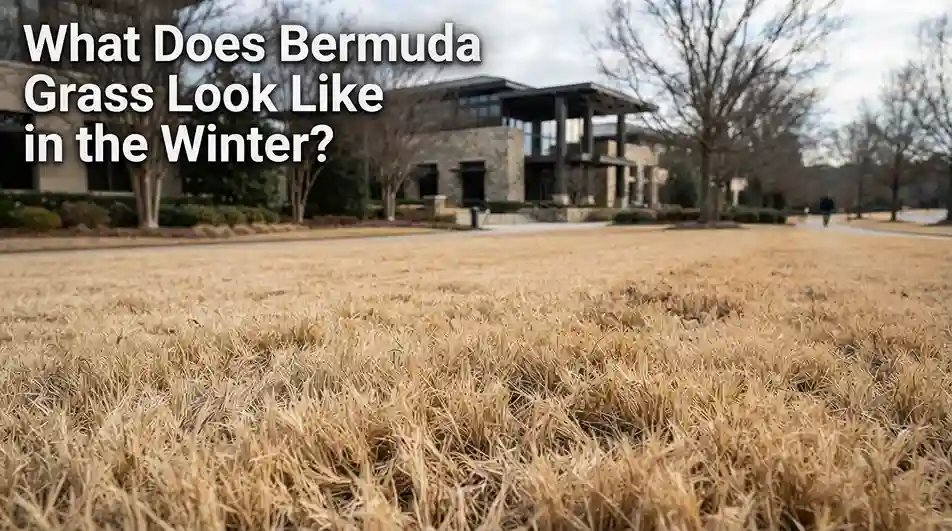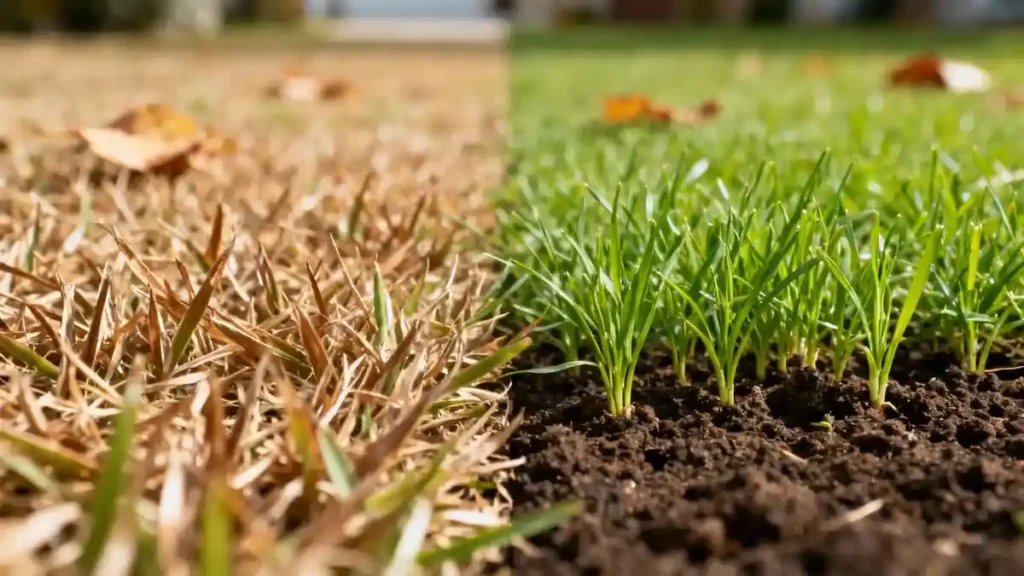
How to Dethatch Bermuda Grass for Greener, Stronger Turf
Wondering how to dethatch Bermuda grass without wrecking your lawn? You’re not alone. A thick, spongy layer of thatch steals water and nutrients from the roots, and dethatching is the fix.
But do it wrong, and you’ll rip out the very turf you’re trying to save.
In our research, the advice from university turf programs is remarkably consistent. Only dethatch when the thatch layer measures more than ½ inch, and only while your Bermuda is actively growing. As of 2026, that timing rule still holds for both common and hybrid varieties.
Let’s look at what actually matters before you rent anything.
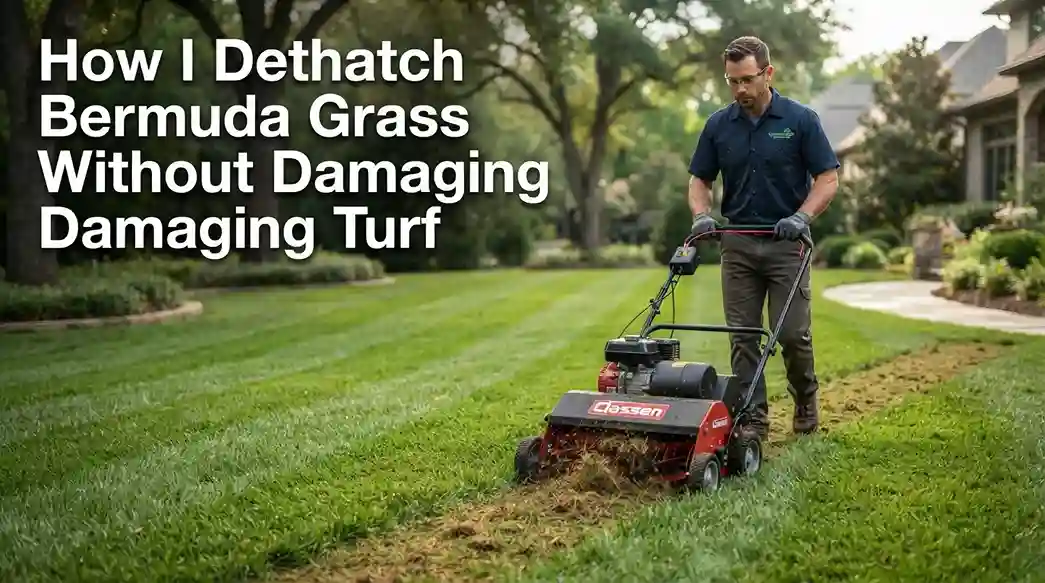
Quick Answer: Should You Dethatch Bermuda This Spring?
Only dethatch Bermuda if the thatch layer is thicker than ½ inch. Wait until late spring, when the grass is at least 50% green. Set the dethatcher blades ¼ to ½ inch deep.
Mow low, rake up debris, then water deeply. This stimulates new growth without tearing out the lawn.
Not sure if your lawn even qualifies? Stand on it. Dethatching is usually necessary when the surface feels spongy, you can’t push a screwdriver through the thatch easily, or water pools in low spots.
Those symptoms point to a buildup that’s thicker than the healthy half-inch layer.
Check the Thatch Depth First: The ½-Inch Rule
Before you decide whether to dethatch, measure the stuff. The rule is simple: if the thatch layer under your Bermuda is less than ½ inch, leave it alone. That thin layer actually helps hold moisture and insulate the crown.
To test, grab a flathead screwdriver or a shovel. Push it straight down through the grass into the soil, then pull it out and study the profile. You’ll see a brown, matted layer between the roots and the green blades.
That’s the thatch.
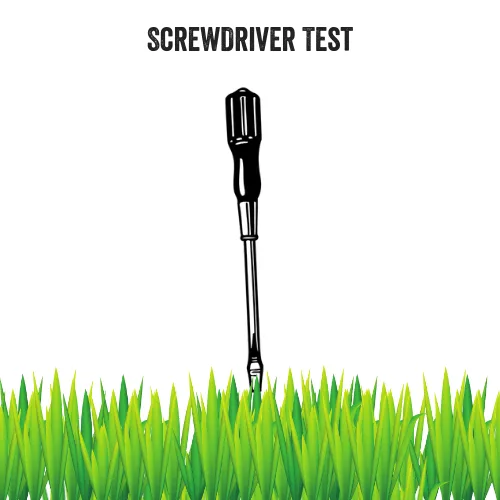
Image source: Web (Bing) / danielslawnservice.net
| Thatch depth | What it means | Action |
|---|---|---|
| Under ½ inch | Healthy layer | Skip dethatching |
| ½ to 1 inch | Moderate buildup | Dethatch once with a power rake |
| Over 1 inch | Heavy mat | Dethatch, then aerate and topdress |
Measure from the soil surface up to the base of the grass stems. Most dethatcher manufacturers set their blade depth suggestions between ¼ and ½ inch. In our research, extension offices treat that measurement as the only green light you need before renting a machine.
If your lawn is in doubt, check whether your Bermuda is still dormant before you start.
What Thatch Actually Is (And Why Bermuda Builds So Much)
Thatch is a dense layer of organic plant material. It sits between the soil and the green shoots, made up of dead stems, stolons, rhizomes, and old roots. Grass clippings play a role, but they’re not the main culprit.
The real driver is Bermuda’s aggressive creeping growth.
Every time a stolon or rhizome matures, it eventually dies back. Under the right conditions, those pieces pile up faster than soil microbes can decompose them. High nitrogen fertilizer and frequent irrigation speed this up.
So do short mowing heights and infrequent scalping.
University extension services like Texas A&M AgriLife Extension consistently identify over-fertilization and over-watering as the top reasons Bermuda thatch gets out of hand. Your routine Bermuda upkeep affects how fast that thatch builds back. In dense lawns, the canopy traps moisture near the soil, which slows decomposition even more.
Dethatching vs. Core Aeration vs. Scalping: Choose the Right Move
People use the terms interchangeably, but they’re not the same. Dethatching removes organic debris. Core aeration removes soil plugs to fix compaction.
Scalping is just a very low mow that cleans up last year’s growth.
| Method | Primary purpose | Best when |
|---|---|---|
| Dethatching | Cut and remove thatch | Thatch layer is more than ½ inch |
| Core aeration | Relieve soil compaction | Ground is hard, water pools, traffic is heavy |
| Scalping | Clean up dead winter growth | Early spring, before green-up |
Use this decision framework:
- Thatch deeper than ½ inch? Dethatch.
- Soil hard despite normal thatch? Aerate.
- Lawn looks brown and ragged but thatch is thin? Scalp and bag the clippings.
- Not sure which problem you have? Do the thatch depth test first.
If compaction is your issue, compaction relief is the right move. Dethatching won’t loosen clay soil. For thin, patchy lawns, dethatching can make things worse.
If you don’t have dense growth, skip it and address the underlying causes first.
The Only Safe Time to Dethatch Bermuda: Green-Up Timing
Timing is everything. Dethatch during a lull and you’ll pull out living runners that haven’t recovered from winter. The safe window is late spring to early summer, usually May through June across the U.S.
South.
Your Bermuda should be at least 50% green and actively growing. For hybrid varieties, most turf managers wait until it’s fully green. Soil temperature should sit above 65°F at a depth of a few inches.
Cooperative Extension programs like University of Georgia Extension echo this timing in their lawn management calendars.
After dethatching, the lawn needs nutrients to rebuild, so align the job with your normal feeding window. And don’t expect fast recovery in shade. Bermuda’s light requirements mean it needs full sun to bounce back quickly.
Dethatching while the grass is dormant leaves you with bare roots exposed to cold wind. The grass can’t regrow until it breaks dormancy, so you’ll see bare patches for weeks. Summer heat brings its own problems, so skip dethatching in July and August.
Bottom line: patience pays. Wait for active growth, then act.
Step-by-Step: How to Dethatch Bermuda Without Torching Your Lawn
Start by mowing the lawn lower than you normally would. Set the mower deck around 1 to 1.5 inches, then bag the clippings. This is the “scalp” step.
It clears away dead winter growth so the dethatcher can reach the thatch instead of bouncing off tall blades.
Next, flag anything buried. Sprinkler heads, irrigation lines, and shallow utility cables sit only a few inches down. Dethatcher blades cut deep enough to slice through PVC pipe.
A quick pass with flags saves you a $200 repair bill.
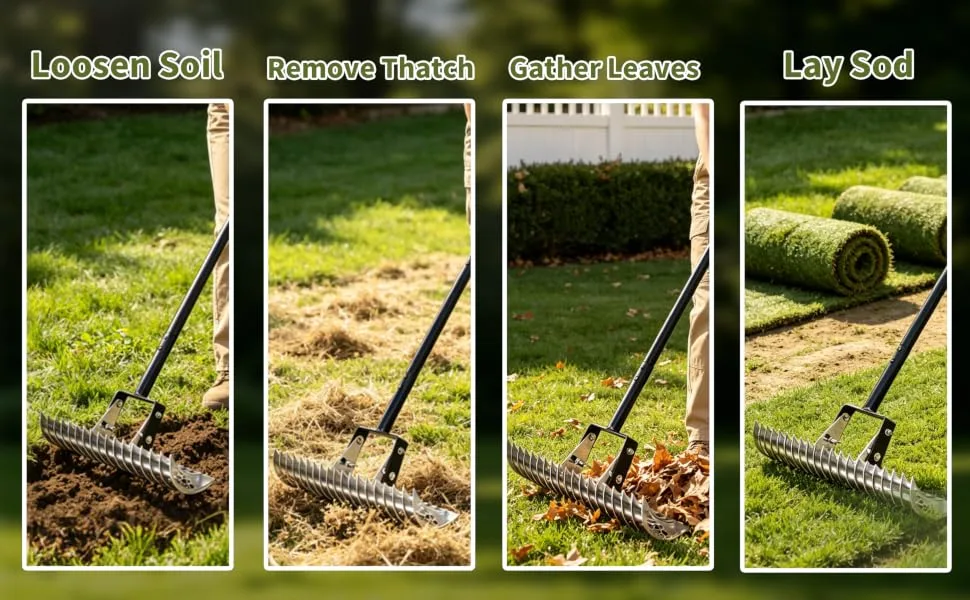
Image source: Bing (Web (fair-use with source credit))
Now set the machine depth. Most power rakes let you adjust blades from 0 to about 1 inch. Start shallow, around ¼ inch, and test a small patch.
If the machine barely pulls anything up, drop it a little deeper. The sweet spot for Bermuda is usually ¼ to ½ inch below the thatch interface.
Make your first pass straight across the lawn like you’re mowing. Then make a second pass at a 45-degree angle. This cross-cut pattern catches thatch in both directions.
For heavy buildup, some turf pros go with a full perpendicular pass instead. That’s aggressive, so only do it if the thatch is over 1 inch thick.
Run the dethatcher at a steady walking pace. Rushing makes the tines bounce and skip. Going too slow digs ruts.
Think of a brisk stroll, not a race. The goal is even, consistent contact with the soil.
After the passes, the lawn will look rough. That’s normal. You’ll see more thatch on the surface than you thought existed.
Rake it all into piles, then bag or haul it away. A lawn sweeper makes quick work of large yards, and a leaf blower handles the rest. Leaving the debris on the grass smothers the new shoots.
Finish with a deep watering. The roots are now exposed, and the soil surface is open. Water thoroughly enough to soak down a few inches.
This settles the soil and gives the crowns the moisture they need to regrow.
Pick Your Weapon: Dethatching Rake, Power Rake, or Verticutter?
Your choice of tool depends on yard size and thatch severity. A hand rake is perfect for small patches under 2,000 square feet. It’s a great workout, but it’ll take hours on a bigger lawn.
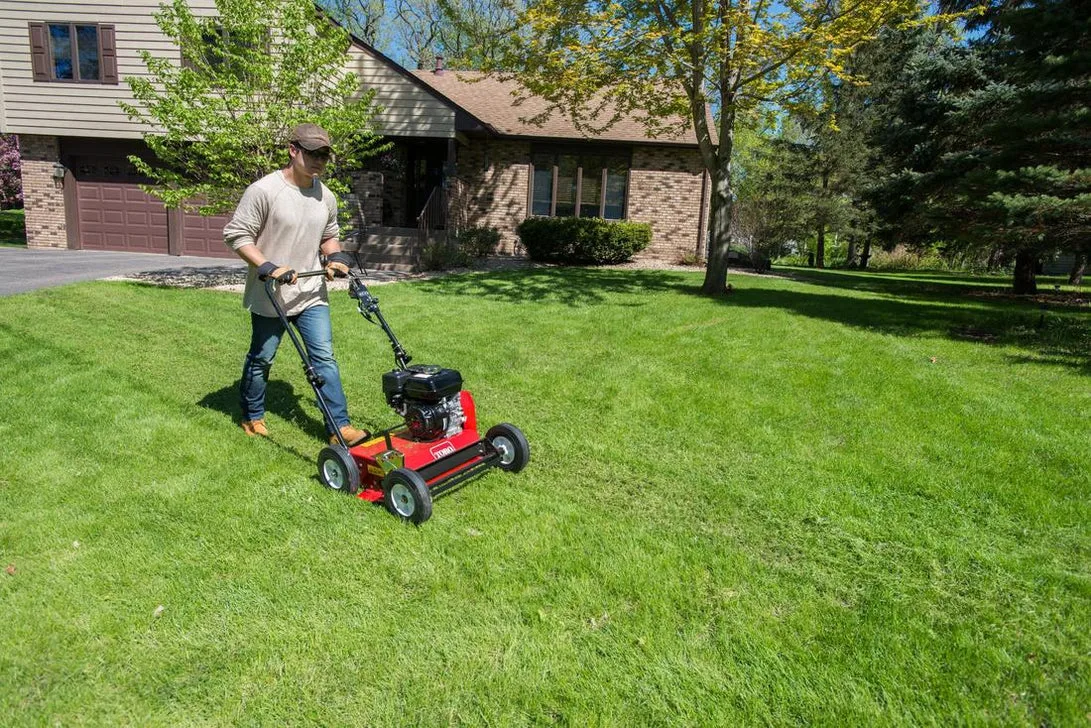
Image source: Bing (Web (fair-use with source credit))
For most home lawns, a walk-behind power rake is the standard. Rental centers call them dethatchers, and they’re fitted with flail-style blades that slice through the thatch without tearing the soil apart. They’re forgiving on uneven ground and hard to overdo into disastrous damage.
A verticutter is the heavier sibling. It uses straight, fixed blades that cut vertically into the soil. Golf courses and sports fields use these for serious renovation.
They’re also common in commercial landscaping. For a residential lawn, a verticutter is usually overkill, unless your thatch is thick enough to walk on.
| Tool | Best for | Typical cost |
|---|---|---|
| Hand dethatching rake | Small, flat yards up to 2,000 sq ft | $25 to $60 to buy |
| Walk-behind power rake | Standard home lawns with moderate thatch | $80 to $150 per day rental |
| Verticutter | Heavy renovation, thick sod, commercial use | $120 to $250 per day rental |
Your call. For most people, a rented power rake is the right mix of speed, cost, and safety. If you’re dealing with a monster lawn and don’t own the time, hiring a lawn care pro to do it saves your back.
Just make sure they set the blades shallow.
Aftercare That Actually Helps Recovery
What you do in the weeks after dethatching determines whether the lawn fills in fast or looks ragged all summer. The grass is stressed and the roots are exposed. It needs consistent moisture to rebuild.
Water lightly every day for the first three to four days. Keep the soil damp, not flooded. After that, stretch the schedule to every other day for the next week, then back to a normal deep-watering routine.
Bermuda loves heat, so the grass should start pushing new growth within a week.
Hold off on fertilizer until you see visible recovery. That typically takes 7 to 14 days. When the new shoots are about 1 inch tall, apply a balanced nitrogen fertilizer.
University extension programs suggest rates around 0.5 to 1 pound of actual nitrogen per 1,000 square feet. Don’t guess; read the bag.
Your first mow after dethatching should wait until the grass reaches normal mowing height, around 1.5 to 2 inches. Then cut it back down gradually. Jumping straight to a low mow stresses the new crowns.
Raise the blade a click for the first two cuts, then return to your regular height.
If you see bare patches after two weeks, don’t panic. Bermuda spreads aggressively through stolons and rhizomes. A light dose of starter fertilizer in those spots helps them stitch together.
Be patient. Full recovery usually takes 3 to 4 weeks under good conditions.
Mistakes That Wreck Bermuda Lawns (Avoid These)
Dethatching too early tops the list. The number one spring killer is running the machine before the grass is fully green. Bermuda can’t regrow if it’s still mostly dormant.
You’ll open the canopy, and weeds will move in before the grass wakes up.
Setting the blades too deep is a close second. Many first-timers crank the depth down thinking more is better. They cut through the thatch into the crown of the plant.
The result is a scalped, rough look that takes months to recover. Start shallow and test.
Dethatching a wet lawn is another classic error. The tines pull up whole root mats instead of slicing through thatch. You get mud streaks and deep ruts.
Wait until the soil has dried out enough that it doesn’t cake on your boots.
Leaving the debris behind is easier to do than you think. A broadcast spreader won’t pick up the chunks. You need to rake or sweep every piece.
Smothering the new growth is a real risk.
And finally, avoid dethatching a thin, patchy lawn. If your Bermuda is struggling, the last thing it needs is more stress. Fix the underlying problem first, whether that’s compaction, shade, or poor soil.
Then dethatch once the turf is dense enough to recover.
Costs & Recovery Timeline: What to Expect
Rental costs for a walk-behind power rake run about $80 to $150 per day plus fuel. Most rental centers require a deposit and a driver’s license, but no special training. You’ll also need a trailer or truck bed to haul it home.
Hiring a professional costs more, usually between $100 and $300 for an average residential lot. That price varies wildly by region. In the Southeast, where Bermuda is everywhere, you’ll get better rates.
In transition zones, expect the higher end.
| Option | Cost range | Time required |
|---|---|---|
| Rent a power rake (DIY) | $80 to $150 per day | 2 to 4 hours |
| Hire a lawn care pro | $100 to $300 per visit | They do it in under an hour |
| Hand dethatching rake | $25 to $60 to buy | 4 to 8 hours per 1,000 sq ft |
Recovery takes place over 2 to 4 weeks. At Day 7, the grass looks scrappy, and you’ll second-guess yourself. At Day 14, new green shoots appear along the runners.
By Day 30, the lawn should look fuller than before, with a tighter, denser turf.
Aftercare costs are small. Fertilizer runs about $10 to $20 for a bag, and watering adds a few dollars to your bill. If you need to replace a sprinkler head you clipped, add $15 to $30.
Most healthy Bermuda lawns only need dethatching once every 1 to 3 years. If you’re doing it every spring, your fertilization and watering habits are feeding the thatch faster than it decomposes. Reassess how much nitrogen you’re applying.
Frequently Asked Questions
Can I dethatch Bermuda in the fall?
No. Dethatching in fall exposes the crowns right before dormancy. The grass can’t recover before winter, so you’ll see thin, bare patches until spring.
Bermuda is a warm-season grass. It builds energy all summer and stores it in the roots for winter. Cutting into that reserve is a bad idea.
How often should Bermuda actually be dethatched?
Only every 1 to 3 years, and only when the thatch layer exceeds ½ inch. Annual dethatching is a sign your lawn care routine is off. Over-fertilizing and over-watering fuel thatch buildup.
If you fix those habits, your dethatching schedule stretches out naturally.
Is it better to dethatch or aerate my Bermuda?
It depends on what the lawn actually needs. Dethatch when the thatch layer is thick and spongy. Aerate when the soil is compacted, water pools, or traffic has packed the ground down.
Many lawns need both eventually, but rarely at the same time. Do the test first.
Should I mow short after dethatching or before it?
Mow short before you dethatch. Scalping the lawn down to 1 to 1.5 inches clears the way for the machine to reach the thatch layer. Mowing short after dethatching stresses the recovering crowns and slows regrowth.
Keep the first few post-dethatch cuts at a higher setting.
Will dethatching get rid of Bermuda weeds?
No. Dethatching removes thatch, not weeds. In fact, it can stir up weed seeds in the soil and give them light to germinate.
If your lawn has a weed problem, identify the weed and treat it separately. Focus your regional planting timing and weed control on the right season.
Final Decision Guide: DIY or Hire a Pro?
Run through this checklist before you spend any money. First, measure the thatch. If it’s under ½ inch, stop here and do nothing.
If it’s over ½ inch and the lawn is actively growing, you’re cleared to proceed.
Next, size up your yard. Under 2,000 square feet and reasonably flat? A hand rake or rented power rake works fine.
Over 5,000 square feet with slopes, tight corners, or irrigation everywhere? Hiring a pro is the smarter call.
Consider your schedule and body. Renting a machine saves money but costs hours. A pro finishes a typical lot in under an hour with commercial equipment.
That labor gap explains the $100 to $300 price tag.
Also think about your soil type. Bermuda in sandy soil breaks down thatch differently than Bermuda in heavy clay. Loose, sandy ground may only need light passes.
Clay holds moisture and slows decomposition, so those lawns often need deeper cuts. If your soil is sandy, whether Bermuda grows in sand changes how aggressive you should be.
One final rule: when in doubt, dethatch less. You can always make another pass next weekend. You can’t undo a lawn that’s been scalped down to bare dirt.
Start shallow, watch how the grass responds, and adjust from there.
The healthiest Bermuda lawns come from patience, not force. Measure first, time it right, choose the right tool, and give the grass time to recover. Do that, and your lawn will reward you with a dense, green carpet that chokes out weeds and handles summer heat.